29th November 2021
Tradesperson's guide to Sanding
Sanding is a guaranteed way to create a smooth and perfected finish for many interior and exterior fixtures and flooring. Although it seems like a very simple process, there are a few factors to keep in mind to achieve the finish you want in a timely and safe fashion.
IronmongeryDirect
29th November 2021
5 mins
Safety First
Any work that emits debris can be dangerous to your health, and the wood dust created by sanding can be particularly harmful. This dust can cause issues in multiple areas including eyes, skin and lungs, and according to HSE(ref): “carpenters and joiners are four times more likely to get [asthma] compared with other UK workers”.
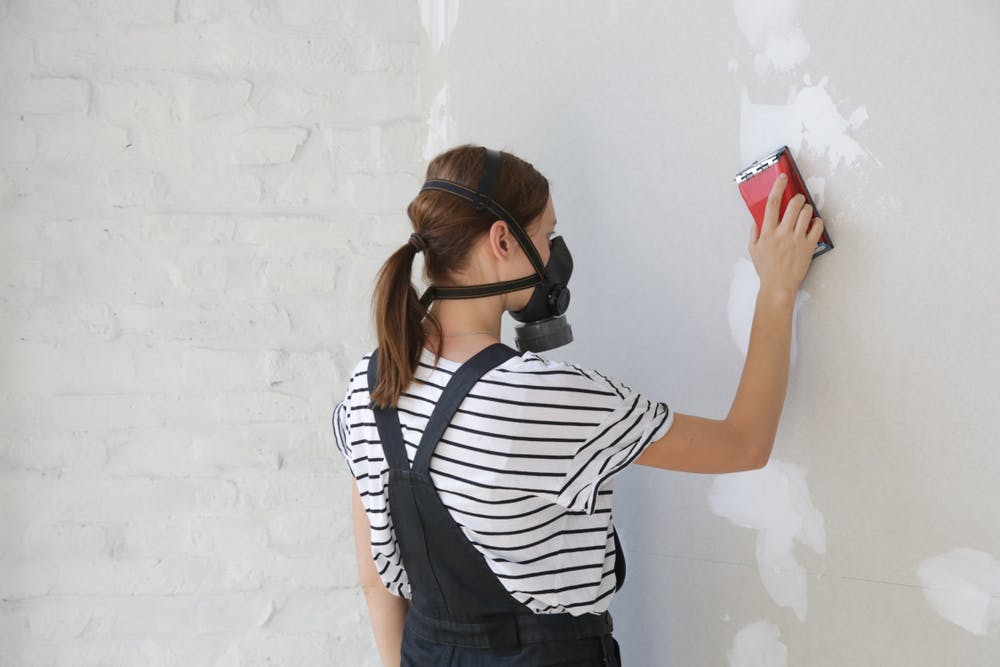
As well as ensuring your skin is covered as much as possible when carrying out sanding work, investing in high-quality goggles, face masks or even respirators, either for yourself and/or your entire workforce is the best way to keep yourself and others safe from harmful debris.

Click the links to find out more about our range of safety and PPE products.
Coarse vs Fine
Different textures of sandpaper are designed for different purposes, so it is important to choose the correct texture for the job. Coarse sandpaper is ideal for the shaping of the wood, as well as removing previous finishes, 40-60 grit sandpaper is suggested for jobs like this as its strength and abrasive nature will not only get the job done effectively, but quickly.
Sandpaper classified as fine has several purposes, depending on how smooth the texture is. 80-120 grit sandpaper is used for the general smoothing of surfaces and removing or smoothing out imperfections in the wood such as knots. The finer the sandpaper, the smoother the finish, so a super fine ranging from 360-600 grit will provide the most seamless and even finish possible.
Our Sandpaper is available in a range of grit textures, from 80 all the way up to 1500, with many available in packs for extra convenience.
Tools vs Hand Sanding
Choosing whether to sand wood and fixtures by hand or by using a sanding tool usually comes down to the size of the project, with hand sanding better suited for smaller projects that require more precision, while sanding tools are better equipped to cover large areas like wood flooring. A larger surface means more harmful dust and debris, so some sanding tools are equipped with extra safety features, with some even having a system in place to reduce the levels of dust in the air while working.
Note: Even with these safety features, it is still highly recommended to use the appropriate safety gear previously mentioned.
We stock several sanding accessories and replacement parts to keep your sanding tools in top shape, including a range of Sanding Discs and Sanding Belts from fine to course to suit your next job perfectly.
Don’t Forget About The Dust
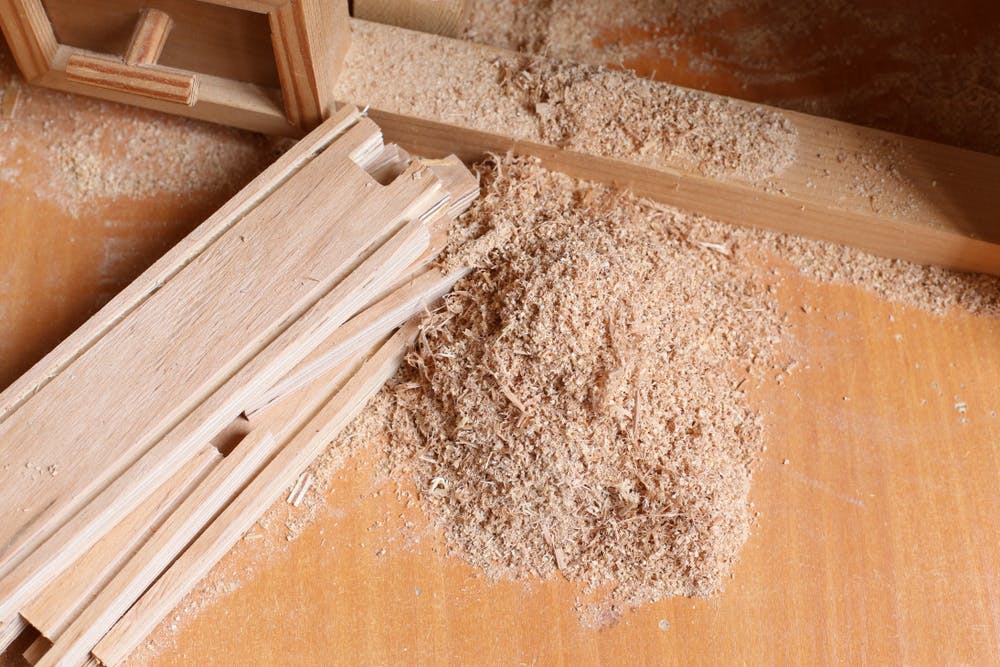
As previously mentioned, the dust and debris that is released when sanding can be hazardous, but wood dust cause an aesthetic concern as well as a safety one. If a fixture or surface is being painted after the sanding process, the last thing you want is to spend all of that time creating an even surface to be ruined by dust being left under the paint, creating what looks like an uneven and almost lumpy finish. An easy way to avoid this is to vacuum up any dust and wipe over the fixture or surface with a wet cloth, leaving you with a finish that is ready to paint or treat in whichever way you choose.

Sanding is an essential part of the carpentry and joinery trades, and our simple tips will ensure that you, your colleagues and your clients can complete the job without any issues and with a finish that everyone involved will be happy with.
You can find our full range of Sanding products here.
References:
https://www.hse.gov.uk/woodworking/wooddust.htm
