
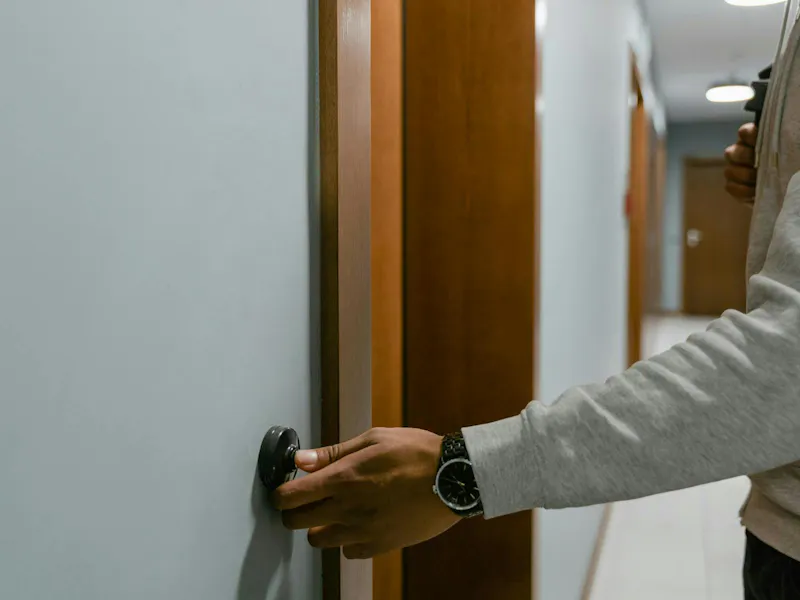
What is a doorbell?
A doorbell is an electronic or mechanical device that alerts homeowners or occupants when someone is at the door, usually through a chime or ringtone. They can be wired or wireless, and modern versions often include video and smart features for added convenience and security. Doorbells play an important role in home access, helping you stay aware of visitors and deliveries.
Equipment you’ll need to install a doorbell
Having the correct equipment is essential for installing a doorbell. What you’ll need includes:
- Doorbell
- Chime box
- Low-voltage doorbell wire
- Screwdriver
- Power drill
- Wire strippers
- Voltage tester
- Wall plugs and screws
- Electrical tape or wire connectors
- Spirit level
What doorbell should I choose?
When selecting a doorbell, it’s important to consider both practicality and style. You should choose a design that complements your front door and aligns with the overall look of your entrance. From classic to contemporary, there are various types and finishes to choose from.
Doorbells come in several styles, including:
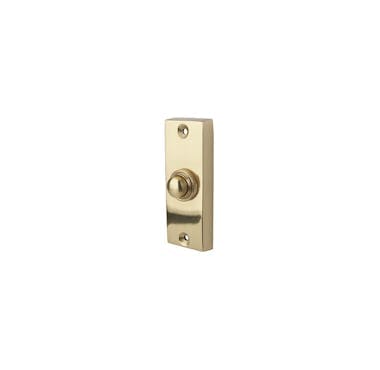
- Plain edge doorbells: Plain edge doorbells are a clean and cost-effective option, with a simple rectangular shape that blends seamlessly into doorframes.
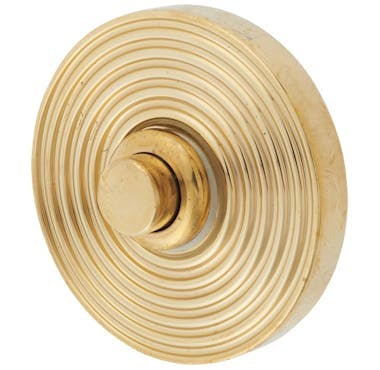
- Round doorbells: This doorbell type offers a clean circular disc with flush edges, making it a subtle statement for traditional and modern homes.
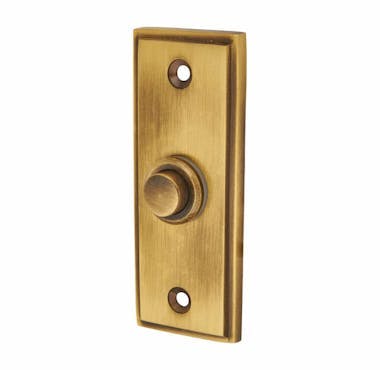
- Shaped doorbells: Shaped doorbells are available in a range of backplates, adding a touch of character and elegance to complement period properties.
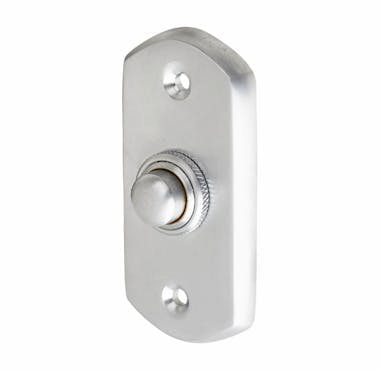
- Stepped edge doorbells: This doorbell type features a layered edge around the plate, providing depth and definition and a subtle, timeless addition to entryways.
Common mistakes to avoid when wiring a doorbell
While wiring a doorbell may seem like a simple task, there are a few common mistakes that can cause issues and create safety risks. Avoiding these errors can help to ensure your doorbell works correctly and lasts longer.
Not turning off the power supply
Before starting any doorbell wiring, it’s essential to turn off the power supply to avoid electric shock or damage. Working with live wires is extremely dangerous and can cause serious injury or harm to your home’s electrical system. It’s important to always double check that the power is off before handling wiring to ensure your safety is prioritised.
Using the wrong type of wire
Using the correct low-voltage wire is essential for the doorbell to function properly. Standard electrical wiring or wire that’s too thin can result in poor performance or even damage the doorbell components. Consider the appropriate insulation for your location, the correct wire gauge for the run length, and the proper rating for your doorbell’s voltage to ensure safe and reliable wiring.
Poor connections
Loose or improper wire connections often cause intermittent ringing or total failure of the doorbell. Ensuring all wires are tightly connected and insulated will result in a reliable and safe system.
Skipping the test phase
Testing the doorbell system before completing the installation is key to catching any wiring mistakes early. If you skip this step, there could be problems later that require extra time and effort to fix. Testing throughout the process helps to avoid issues arising and ensures the installation is completed successfully.
Installing the doorbell in an inconvenient place
Choosing an inconvenient place to install the doorbell defeats its purpose, making it less likely to be used. Positioning it at eye level near the main door guarantees visitors can easily locate and use the doorbell as it’s intended.
How to wire a doorbell
Once you have the correct equipment ready and are aware of the common mistakes to avoid, follow these steps to install your doorbell:
Step 1: Turn off the power
Before starting any wiring, you should switch off the power at the main fuse. Using a voltage tester will help you to confirm that no current is flowing if you’re unsure. Completing this step maintains your safety and prevents electric shocks.
Step 2: Prepare the wiring
Preparing the wiring is essential to ensure safety, avoid mistakes, and make the installation process run smoothly. Carefully use wire strippers to strip the ends of the low-voltage doorbell wire, making sure the metal wire is exposed enough to secure connections through your doorbell. The wire needs to be intact and properly routed from the doorbell to the chime box to work effectively.
Step 3: Mount the doorbell
After preparing the wiring, use a power drill to mount the doorbell securely near your front door with wall plugs and screws. Check that your doorbell is well aligned with a spirit level to position it at the right height.
Step 4: Connect the wires to the doorbell
Connecting the wires to the doorbell ensures accuracy and a smooth installation. Attach the wires to the terminals on the doorbell using a screwdriver, making sure the connections are tight and secure to maintain good electrical contact.
Step 5: Connect the wires to the chime box
The next step is to connect the other ends of the doorbell wire to the chime box using a screwdriver. This will complete the circuit, allowing the doorbell system to function properly. If your doorbell system includes a transformer, connect it carefully, following the manufacturer’s instructions to safely regulate the voltage.
Step 6: Secure all components
All components now need to be secured, with the bell push, chime box, and transformer firmly mounted, and all wires properly secured. Use electrical tape or wire connectors to insulate any exposed wiring and prevent damage.
Step 7: Test the doorbell system
Once you have wired your doorbell, you should now test the system to confirm it’s functioning properly. Turn the power back on and press the doorbell to check that the chime box rings correctly. If it doesn’t, use your voltage tester to troubleshoot and check all connections before finishing up. After completing this step and ensuring that your doorbell system is working efficiently, you have successfully wired a doorbell.
Discover doorbells at IronmongeryDirect
This guide has taught you how to successfully wire a doorbell, the common mistakes that occur, and how to avoid them. Install your doorbell with ease with our wide range of high-performance doorbells at IronmongeryDirect.
FAQs
Can I wire a doorbell myself?
Yes, it is possible to wire a doorbell yourself, especially with the right tools and guidance and if you’re confident with DIY. If you’re unsure or the installation involves mains wiring, we recommend asking a qualified electrician to complete the job.
Do I need to turn off the power before wiring a doorbell?
Yes, turning off the power is essential before starting any electrical work. Doing this can help prevent electric shocks and protect your home’s wiring system from accidental damage.
Where should I install the doorbell button?
The bell push should be mounted near the main entry door at eye level to ensure it’s visible and accessible for all visitors. Consider your personal preference and door design to determine the best position for your doorbell.
How do I know if my doorbell needs replacing?
If your doorbell isn’t working despite correct wiring and a functioning transformer, the doorbell unit itself may be faulty. Signs of a faulty doorbell include no sound, weak chimes, or inconsistent ringing. Testing your doorbell can confirm if the transformer is supplying the correct voltage (typically 16–24V), and if it isn’t, then it’s likely time for a doorbell replacement.
What type of wire should I use for a wired doorbell?
You should use low-voltage, typically 18-gauge doorbell wire that’s safe and designed specifically for doorbell systems. Avoid using standard household electrical wire, as it’s not suitable for low-voltage connections.
What tools do I need to wire a doorbell?
The tools you need to wire a doorbell include a screwdriver, power drill, voltage tester, wire strippers, electrical tape or wire connectors, and a spirit level. Having the correct equipment ensures you’re prepared for the job and that the installation process runs smoothly.