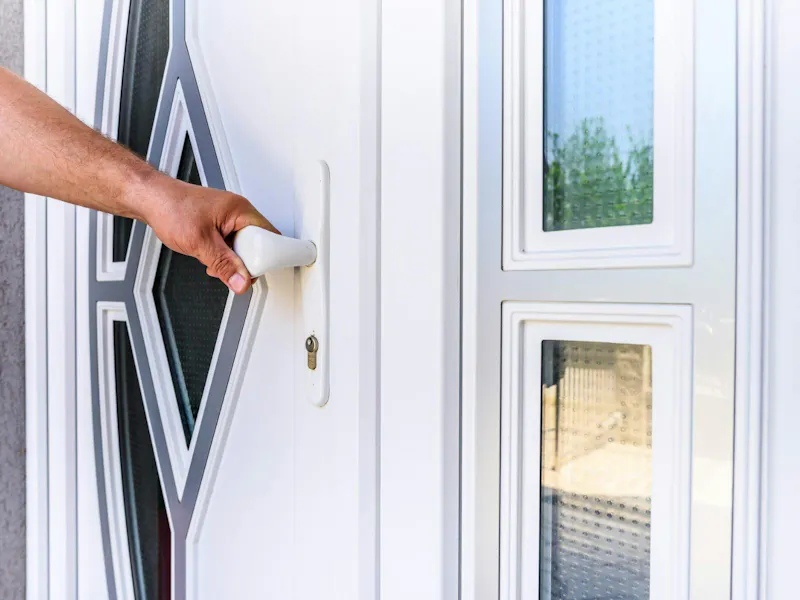
Doors made from uPVC are an extremely popular option for homeowners, and offer both security and durability at reasonable price. Explore the ins-and-outs of working with uPVC, and discover how to fit and adjust a uPVC door with us below.
uPVC doors are created by surrounding a strong, insulated steel frame with something known as un-plasticised polyvinyl chloride. Commonly known as uPVC - or rigid PVC - the result is long-lasting, reliable door that can withstand the test of time.
Typically, uPVC doors are between 20-28mm thick and, to suit different styles, are available in over 200 RAL colours.
As well as being one of the most affordable options, uPVC doors come with a whole host of other benefits too.
Perhaps the most important, uPVC doors are very secure, and the combination of a strong frame and multi-point locks will give peace of mind to any homeowner. uPVC doors are extremely low maintenance too: when it comes to cleaning a simple wipe down should do the trick. With regular care, you can expect uPVC doors to last anywhere between 20-25 years.
Weather-resistant, fire retardant and also energy efficient, it's no surprise uPVC is an attractive choice for many. uPVC doors offer excellent insulation and different ventilation options.
As for style, uPVC doors are customisable and can be ordered in a range of RAL colours. The range available will depend on the manufacturer in question, but there's much more to choose from than simple black and white options. You can also choose between several styles, like patio, bifold and French.
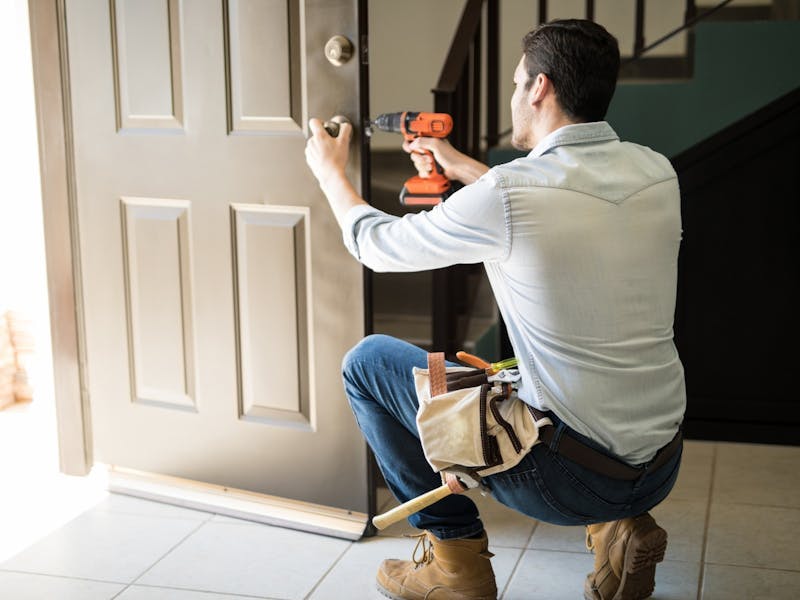
Faults with uPVC doors often stem from incorrect installation, so making sure everything is perfect first time is extremely important. If you're new to fitting uPVC doors, we highly recommend having someone with experience nearby to guide you.
Here's a quick run-through, covering the basic steps on how to fit a new uPVC door.
Prepare
Add the cill
Install the frame
Incorrect installation or general wear and tear can cause all kinds of problems with uPVC doors. However, there are a few adjustments that can be made to try and fix the issue.
Firstly, you'll need to identify exactly what the problem. Is the issue with the height of the door, the compression, or something else completely - like a draught? Once you know the problem, you can go ahead and select the appropriate solution.
How to adjust uPVC door height
Need to adjust a uPVC door that's too high, or too low? All you need to do is locate the screw that controls the vertical moment of the door hinge.
Once you've found the correct screw, take an Allen key and twist. Begin by doing one full rotation, and then a second. If the door still isn't sitting correctly in the frame, make very small adjustments until you've found the right height.
How to adjust uPVC door compression
Is the uPVC door in question not matching up with the top or bottom corner of the door frame? If this is happening, there might be a problem with the compression screw.
Again, this is another quick fix. Grab your Allen key, and slowly unscrew the compression screw. Complete one rotation, and make tweaks until everything looks right.
How to stop draughts with uPVC doors
If the uPVC door in question feels a little bit loose, and often rattles, then you've probably found the culprit of the draught.
To stop draughts from coming out of uPVC doors, the gap between the door and the door frame needs to be reduced. To do this, locate the latching of the door, and tighten the seal to stop the draught.
However, if the door is shutting but won't catch in the latch, you'll need to take a different approach. The gap between the frame and door may actually need to be increased, in order to reduce the compression of the door.
You can follow the method we've mentioned above to reduce compression, or alternatively, use the steps below:

Strictly speaking, uPVC doors should not be painted. The surface of uPVC is not designed to accept paint or any other kind of varnish, and numerous issues are likely to arise if paint is applied.
Alongside issues with proper adhesion, applying paint to uPVC doors can lead to unsightly cracks and even peeling over time - especially when thermal expansion occurs. Even worse, DIY paint jobs can void the warranty of uPVC doors from certain suppliers.
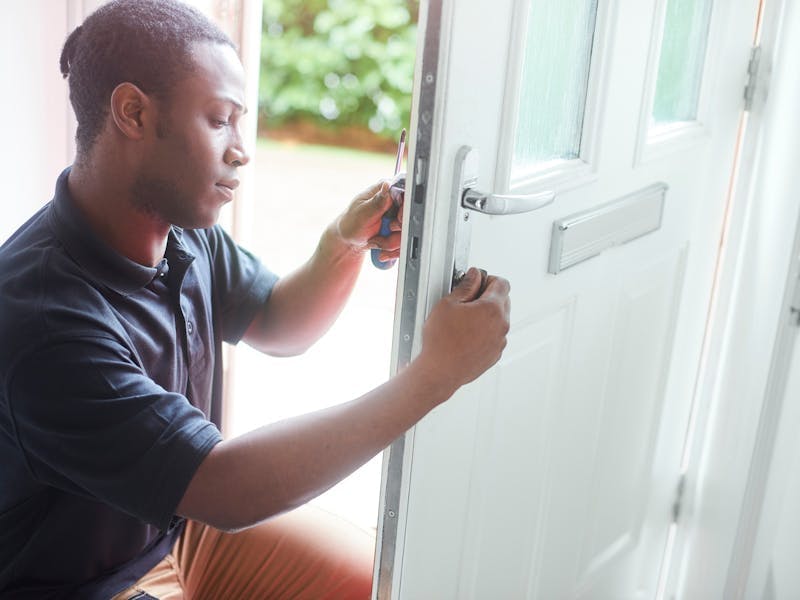
Broken and faulty locks can easily be changed on uPVC doors. The process is fairly straightforward, and should take a few minutes.
To change a lock on a uPVC door, you'll need:
Once you have the above, just follow these simple steps:
For more tips and tricks, don't forget to check out our other educational guides over on our blog.