Over 1,700 prices just dropped - grab what you need for less today! Shop Now.
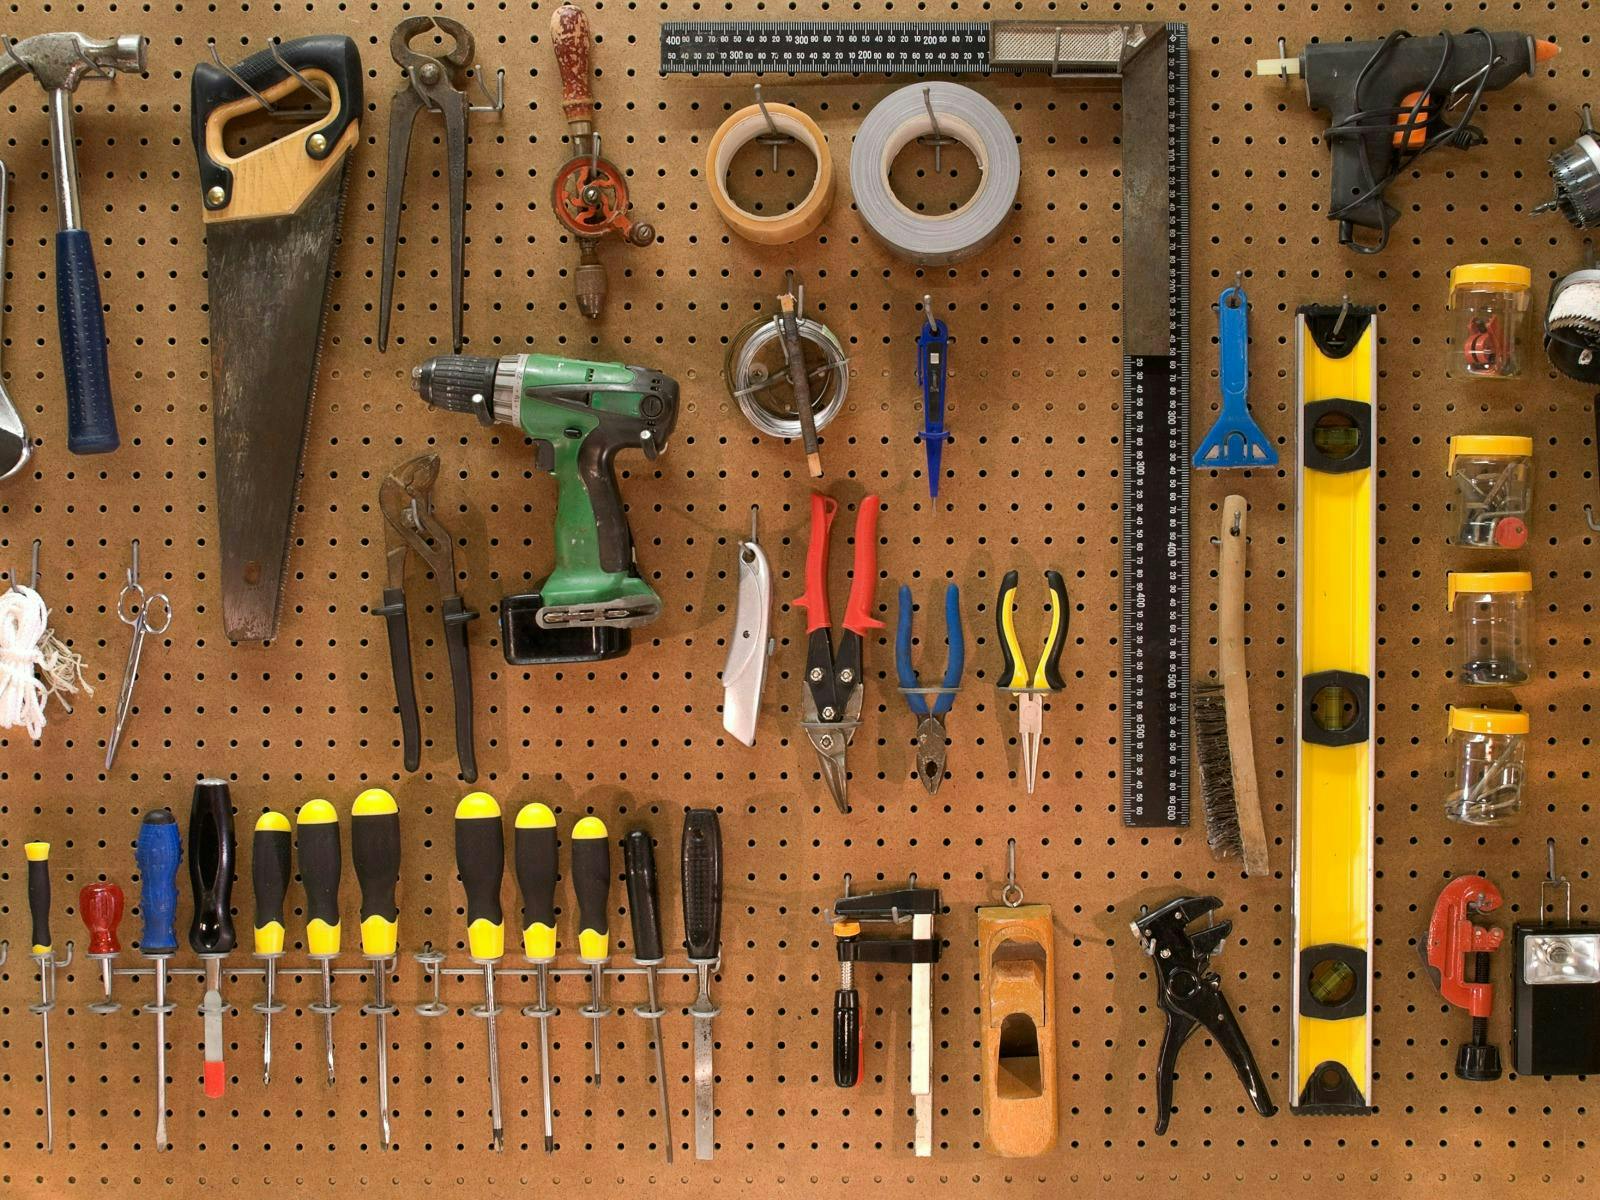
- Wrench, hex key, screwdriver, or Allen key
- Step ladder
- New door closer (if the original is beyond economical repair or covered in oil)
- Any necessary signage (to make people aware a door is being repaired)
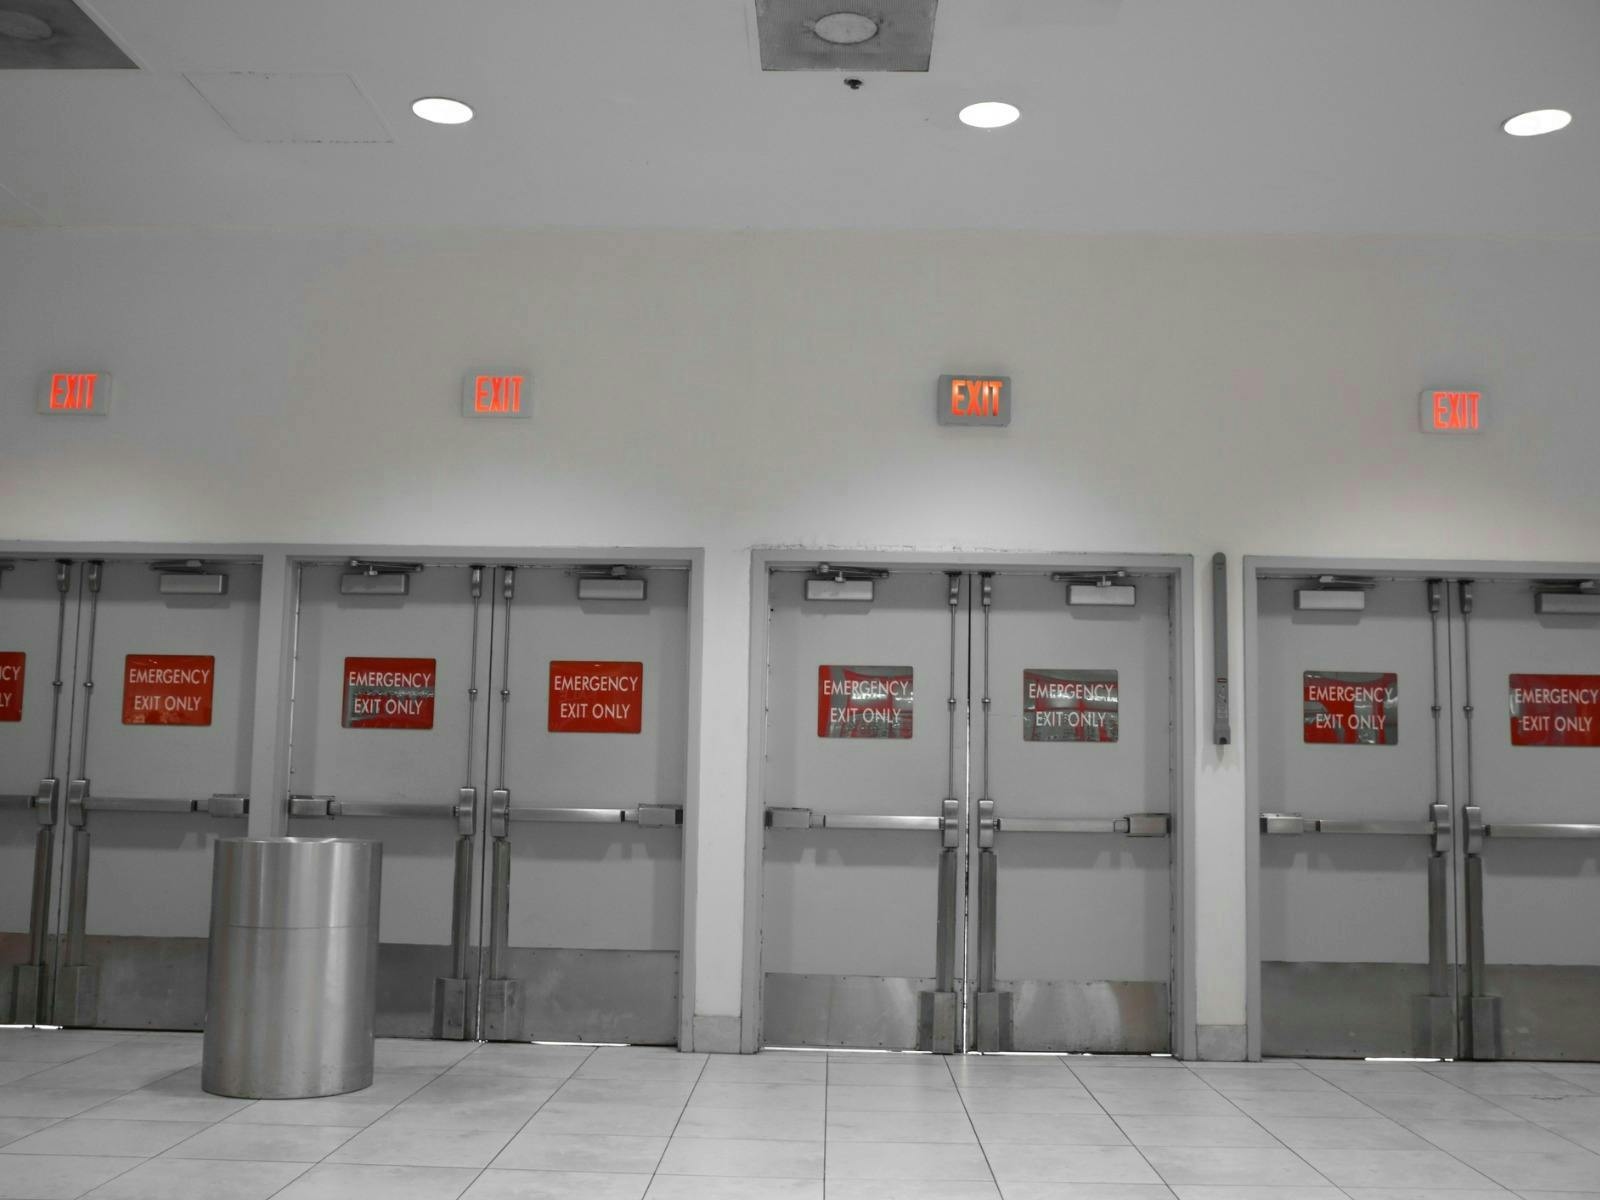
- Door closers are most often found in commercial or public buildings. For that reason, make sure no one operates the door you’re working on. For safety reasons, it may be a good idea to leave a sign outside or work on the door closer during quieter hours.
- Before you begin, bear it in mind that there’s a few factors that can make the door closer unrepairable. For example, if the spring has no tension, oil leaking, or worn-out valve seals. If you experience any of these issues, then you’ll need to purchase a brand-new door closer.
Once you’ve completed the above, you’re now ready to start the process of adjusting a door closer. Here’s how to do it:
1) First, take the step ladder and place it underneath the door closer that needs to be fixed. Ideally, make sure you can reach the door closer from the second or third highest step.
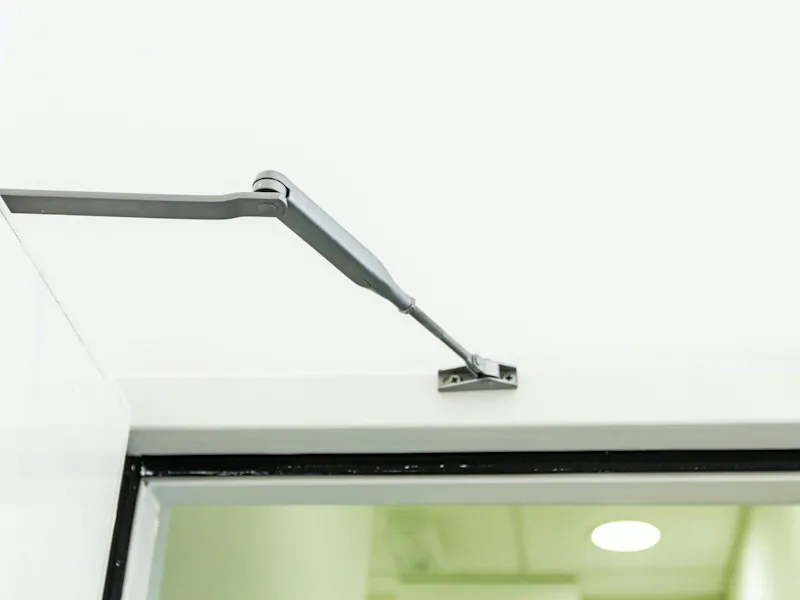
2) Now that you’re up the ladder, inspect the door properly. Can you see the adjustment screws? If you can’t, then the door closer will have a plastic or metal cover which you should be able to pull right off. Sometimes, the cover may use fasteners, in which case you’ll need to loosen and slide the cover to remove.
3) Make sure to examine the door closely again. Look out for any oil surrounding the cover or the main body. Notice any oil? If you do, it means the door closer is beyond economical repair, so you’ll need to purchase a brand new one.
4) With the cover off and door closer free of any oil, you should now be able to see the adjustment screws within the door closer’s body. To make things easier for you, there may be a diagram located inside the body to point you in the direction of the adjustment screws.
5) When adjusting the screws, start with no more than a 1/8 turn. Turn clockwise to slow down the door, and anti-clockwise to speed up. Every time you make a turn, climb down from the step ladder and examine the door’s speed. Continue to do this until you’re satisfied that the door is operating safely and isn’t swinging too aggressively.
6) Just to be on the safe side, you should continue to examine the door. Ensure that the door is closing smoothly at least 10 times. If it does continue to close at a level that you’re happy with – you’re all sorted. If you’re not happy, you’ll need to climb up the step ladder again and continue to adjust until you are. Again, remember to make small adjustments and check every time.
- When adjusting the screws on the door closer, make sure to only twist slightly with no more than a 1/8 turn. It only takes a small adjustment to have a big effect. Plus, if you twist too much, you could leaving lasting damage to your door.
- Remember: turn clockwise to slow down the door, and anti-clockwise to speed up.
- As mentioned above, try to carry out this work during off peak hours or bring along signage with you to ensure everyone is aware you’re working on a door.