13th September 2021
Door Knocker fitting guide
More ornate Door Knockers have risen in popularity over recent months, and we’ve received some questions from intrigued traders asking how to install this decorative Door Furniture. This guide will tell you everything you need to know so that if your client has invested in one of our unique Door Knockers, you’ll know exactly what to do.
IronmongeryDirect
13th September 2021
5 mins
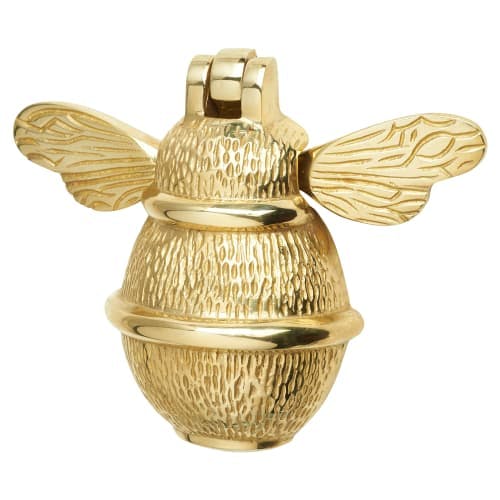
Bumblebee Door Knocker
The first step is to work out where you want your Bumblebee Door Knocker to go, then mark out the position with a marker pen according to the two holes already created on the Door Knocker itself. It is important that the marks you have made are still visible when the knocker has been removed.
Next you will need to drill two holes in the door where your markings are, but you must make sure you don’t drill too far through to the other side of the door. Then place the knocker back on the door, lining it up with the holes you have just created.
Finally, using the two screws provided, screw the knocker in to the door, and your project is complete!

This same process applies to any Door Knockers that are not designed with a striking plate, to find our range of Bumblebee Door Knockers and others like it, check them out here.
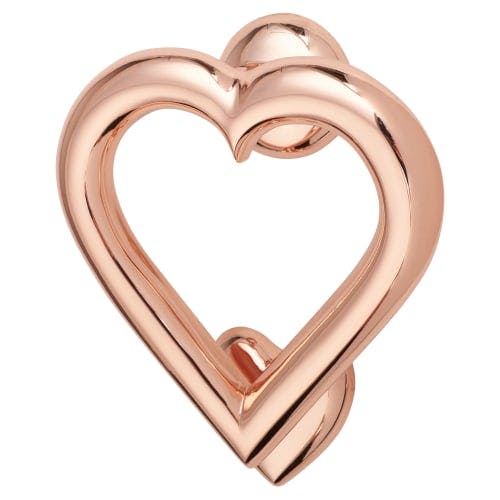
Heart Door Knocker
The steps required to install one of our Heart Door Knockers is very similar to the process for the Bumblebee Door Knocker.
For this design, you still need to work out where you want your Door Knocker to sit, and mark it out with a pen. The difference here is that instead of two holes at the side, there is just one hole at the top of the Door Knocker that you need to mark out.
The process is then exactly the same as for the Bumblebee, but the whole process then needs to be repeated for the smaller heart striking plate. Positioning is important here, as it is vital that the striking plate is lined up perfectly with the Door Knocker itself so that the striking action is effective.
The same process applies to any Door Knockers that include a striking plate, positioning may vary depending on the size and shape of the striking plate.

You can view our Heart Door Knockers in various finishes here.
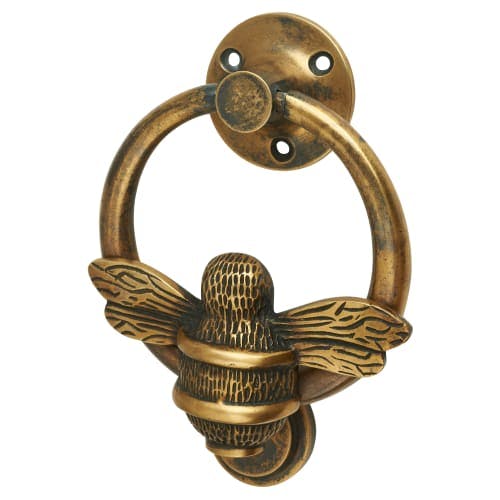
Bee with Ring Door Knocker
Door Knockers with ring attachments again follow a similar process, working out the position on the door and marking out the holes. This style of Door Knocker will require three holes to be drilled and the same process continues to secure the Knocker on to the door.
To attach the striking plate, the same steps apply as previous styles, but in this case, the plate is bolted on to the door. This involves the bolt being fed from the inside of the door and screwed in to the striking plate on the outside.

To view our range of ring-style Door Knockers, click here.
Although all of these styles of Door Knockers require a similar installation process, the subtle changes between the steps could be the difference between a quick and fuss-free job, and taking several attempts to get the job done, leaving the door damaged and full of holes. But with our guide handy, you’ll know how to install these Door Knockers to give any clients front door a revamp they will love.
